Fender Bassman-style 2x15 Guitar Speaker Cabinet (content under construction)
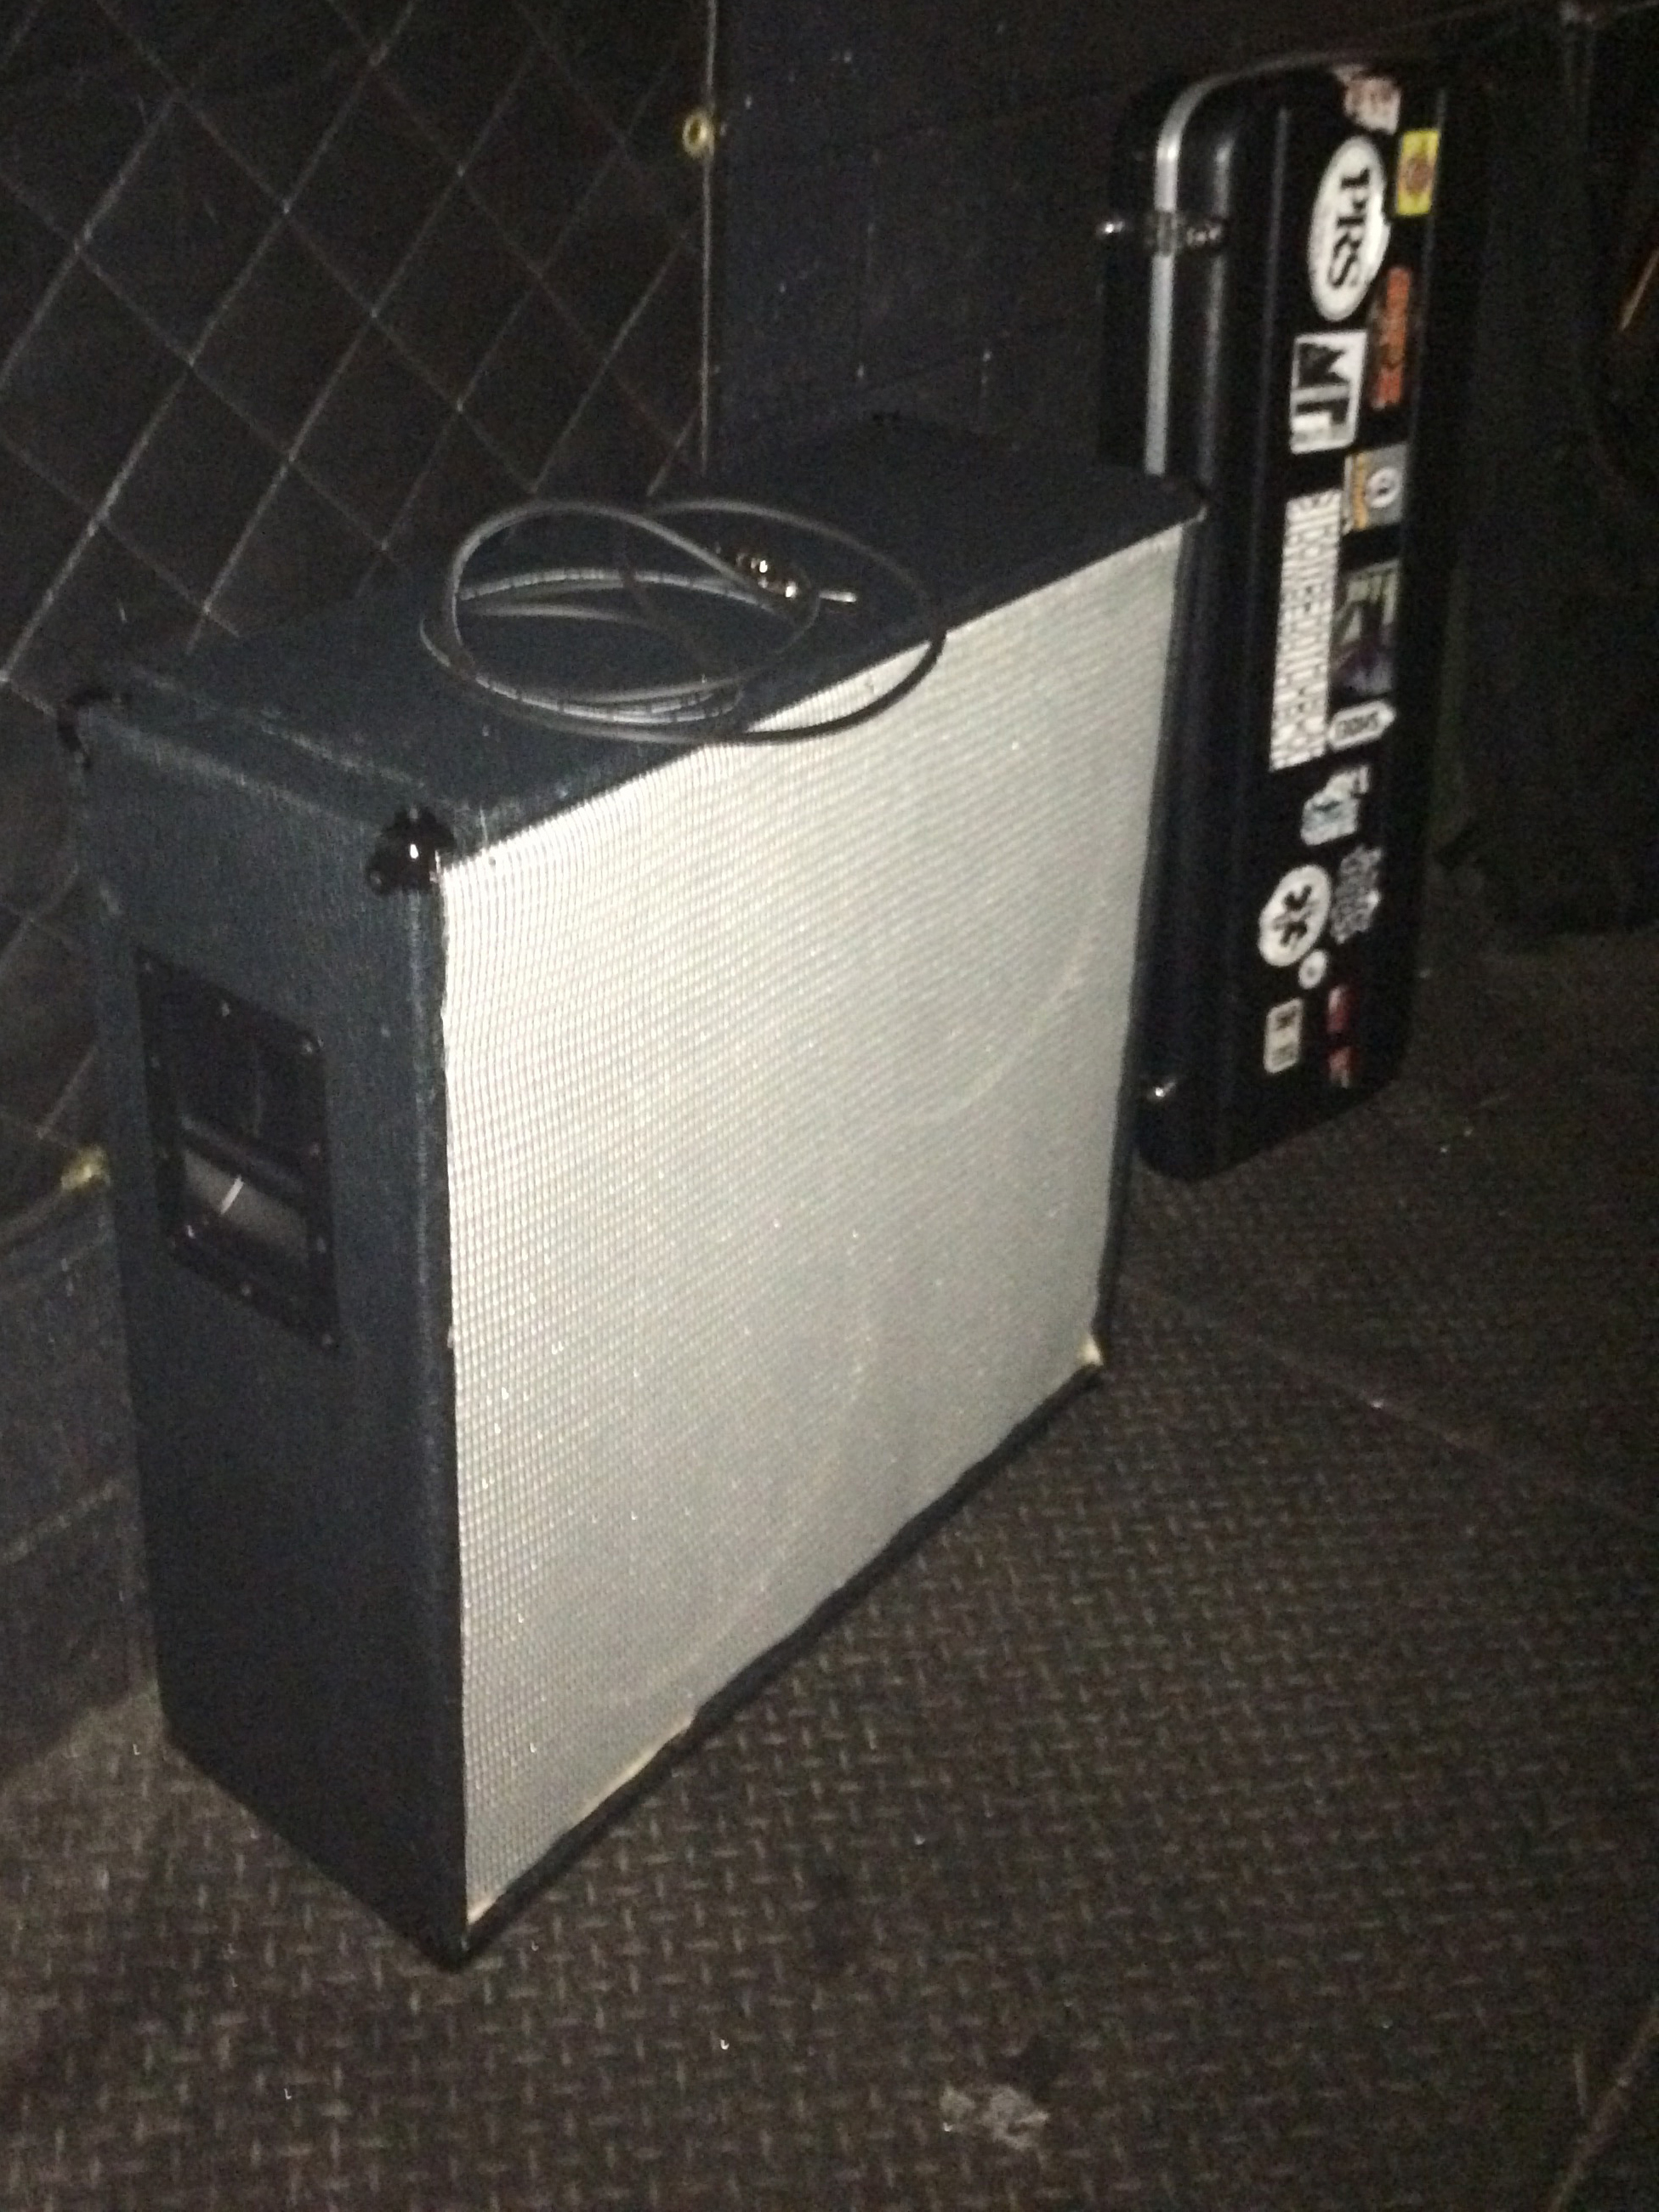
Literally why?
My band Maeth is way too loud. My 50W Marshall JVM combo simply could not keep up with the rest of the band. Boo. SO I decided to make an extension cabinet, rather than buy one.
Okay, but why a 2x15?
Well, for starters, everyone and their grandmother has a 4x10 or 4x12. I just had to be different, yknow? I also didn't like how bright and fizzy the stock speakers on my Marshall sounded, and my caveman brain figured a bigger speaker would have a deeper and darker sound. In the case of the Eminence Legend 1518 speakers I ended up buying, this turned out to be correct.
Initial design considerations
AKA "slamming a coupla beers and winging it"
I knew that Fender made a 2x15 cabinet for a few years, in the good old pre-CBS days. Unfortunately, I'd never seen one in real life, and nobody seemed to have any sort of detailed specs online, so I gave it a quick image search and tried to concieve of a knockoff by eye. Thus was the basis for my design. (This should also set the tone for the quick-and-dirty nature of this project.)
My main takeaway from the design of these old Bassman cabinets was that the speakers ought to be mounted in a diagonal orientation in the baffle. I also knew that the finished cabinet ought to be roughly 30" in width, so that my JVM combo could sit comfortably on it (and without looking too goofy). The other page I took from ol' Leo Fender's book (besides the grill cloth styling), was to use 1x12" standard pine for the cabinet and 3/4" baltic birch for the baffle (and the back panel, more on that later). That gave me a place to start, and a way to derive a design from a couple of fixed paramaters.
How would it hold up in terms of acoustics? Who knew! Who cared! The neat thing about guitar cabinets, as opposed to hi-fi speaker enclosures, is that they're supposed to be imperfect. We use them for color, not accurate reproduction of an audio signal (which, from an electric guitar, is frankly a very flaccid and uninteresting sound). As such, they are very forgiving on the amateur designer, and, unlike bass cabinets, they don't require a certain depth or even a closed back to safely reproduce the frequencies of the instrument. Hooray!
#NewSpeakerDay
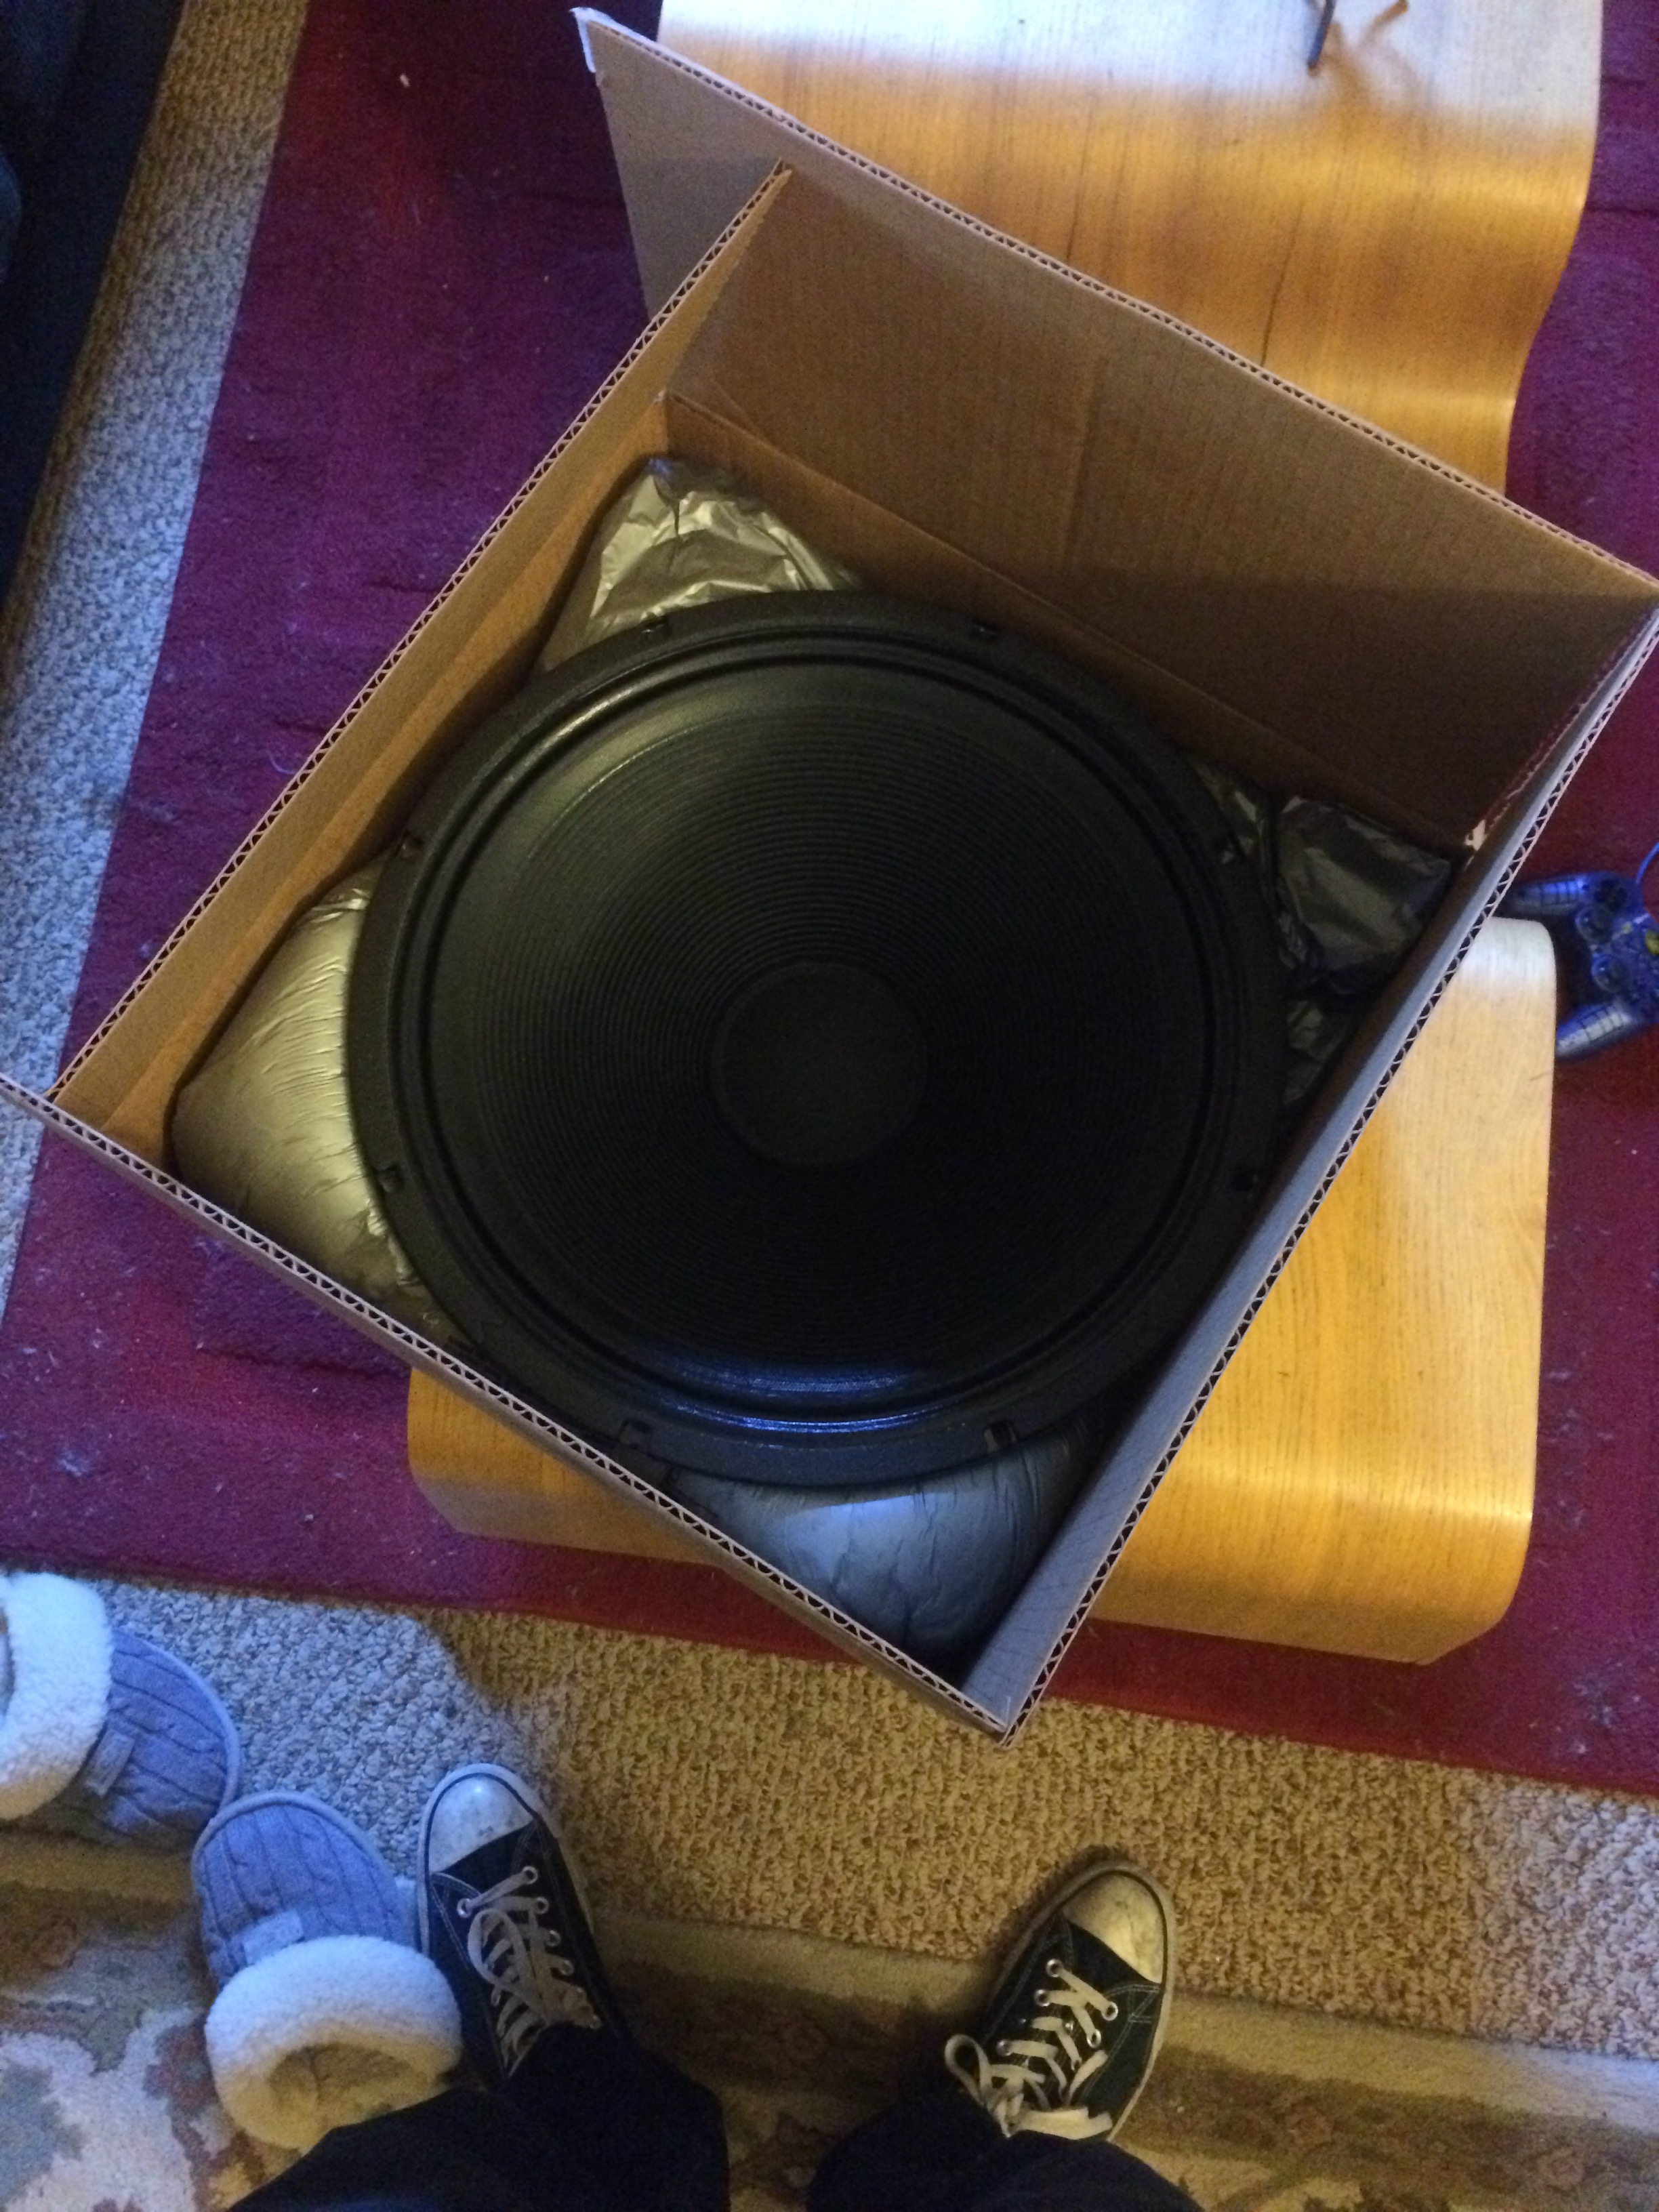
One of two speakers, as they came to me in the mail. Besides my own labor, which is of course priceless, this was by far the most expensive part of the build. I did not shell out the big bucks for a big brand like Celestion, and I have no regrets about this. Celestion is one of those brands, like most big names in musical instruments, wherein their reputation (albeit well-earned, through years of quality and iconic products), commands a huge premium that inflates the price beyond any tangible value. In cases like these, there are often solid, comparably professional-quality competitors with much more reasonable prices. Part of being a musician is constantly being bombarded with marketing that tells us we can only sound like our heroes if we use the exact same gear they did, when really that money is better spent on instrument lessons, but I digress.
Designing the Baffle
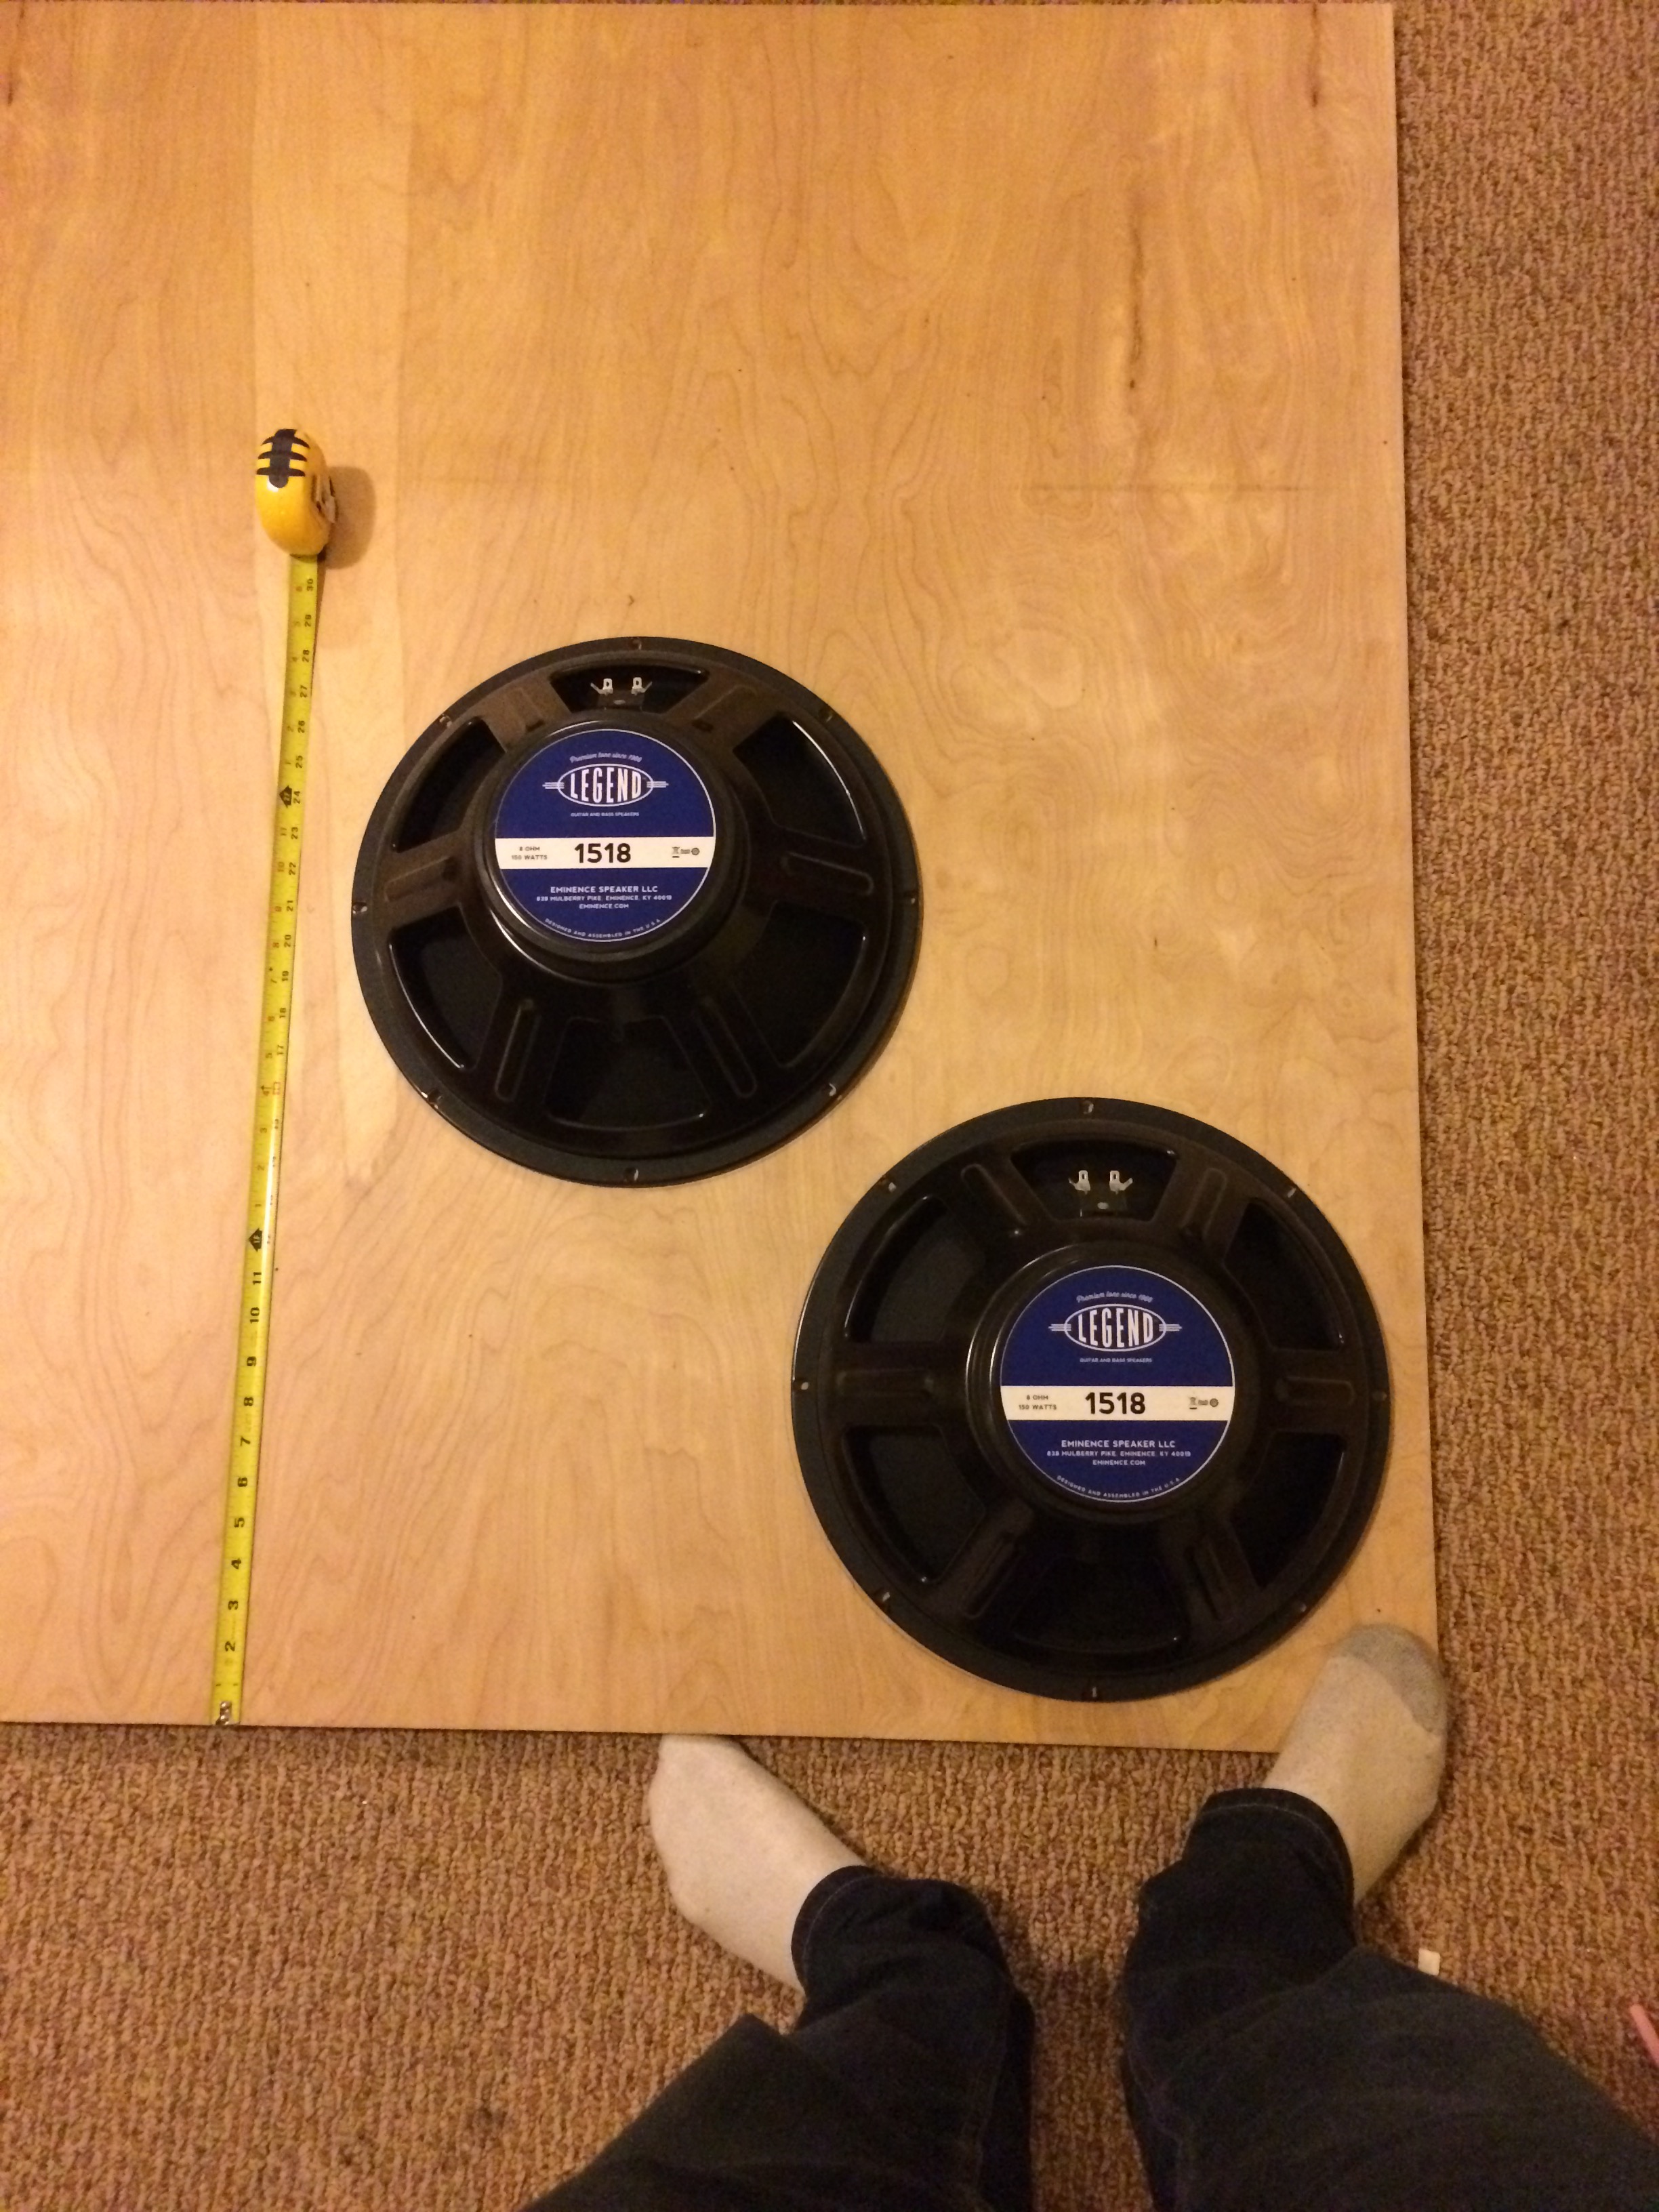
I knew I wanted a diagonal orientation for the speakers, for aesthetic as well as practical purposes (otherwise the cabinet might be too tall or too wide to lug to gigs). Thus, designing the baffle was a process of fitting two ~15" circles onto a square (or squarish) piece of plywood. There was probably a way to accomplish this with algebra and euclidean geometry, but I just took a sheet of plywood and arranged my speakers on it until it looked right. There were some caveats: from reading online I knew that each speaker needed at least one inch of clearance from the edge of the mounting screws (from both the walls of the cabinet and the other speaker). All I had to do was orient them until these paramters were satisfied, and the resulting square baffle was sized such that, when mounted in a box of 1x12 pine boards, the resulting product would be ~30"x30".
Cutting the Baffle
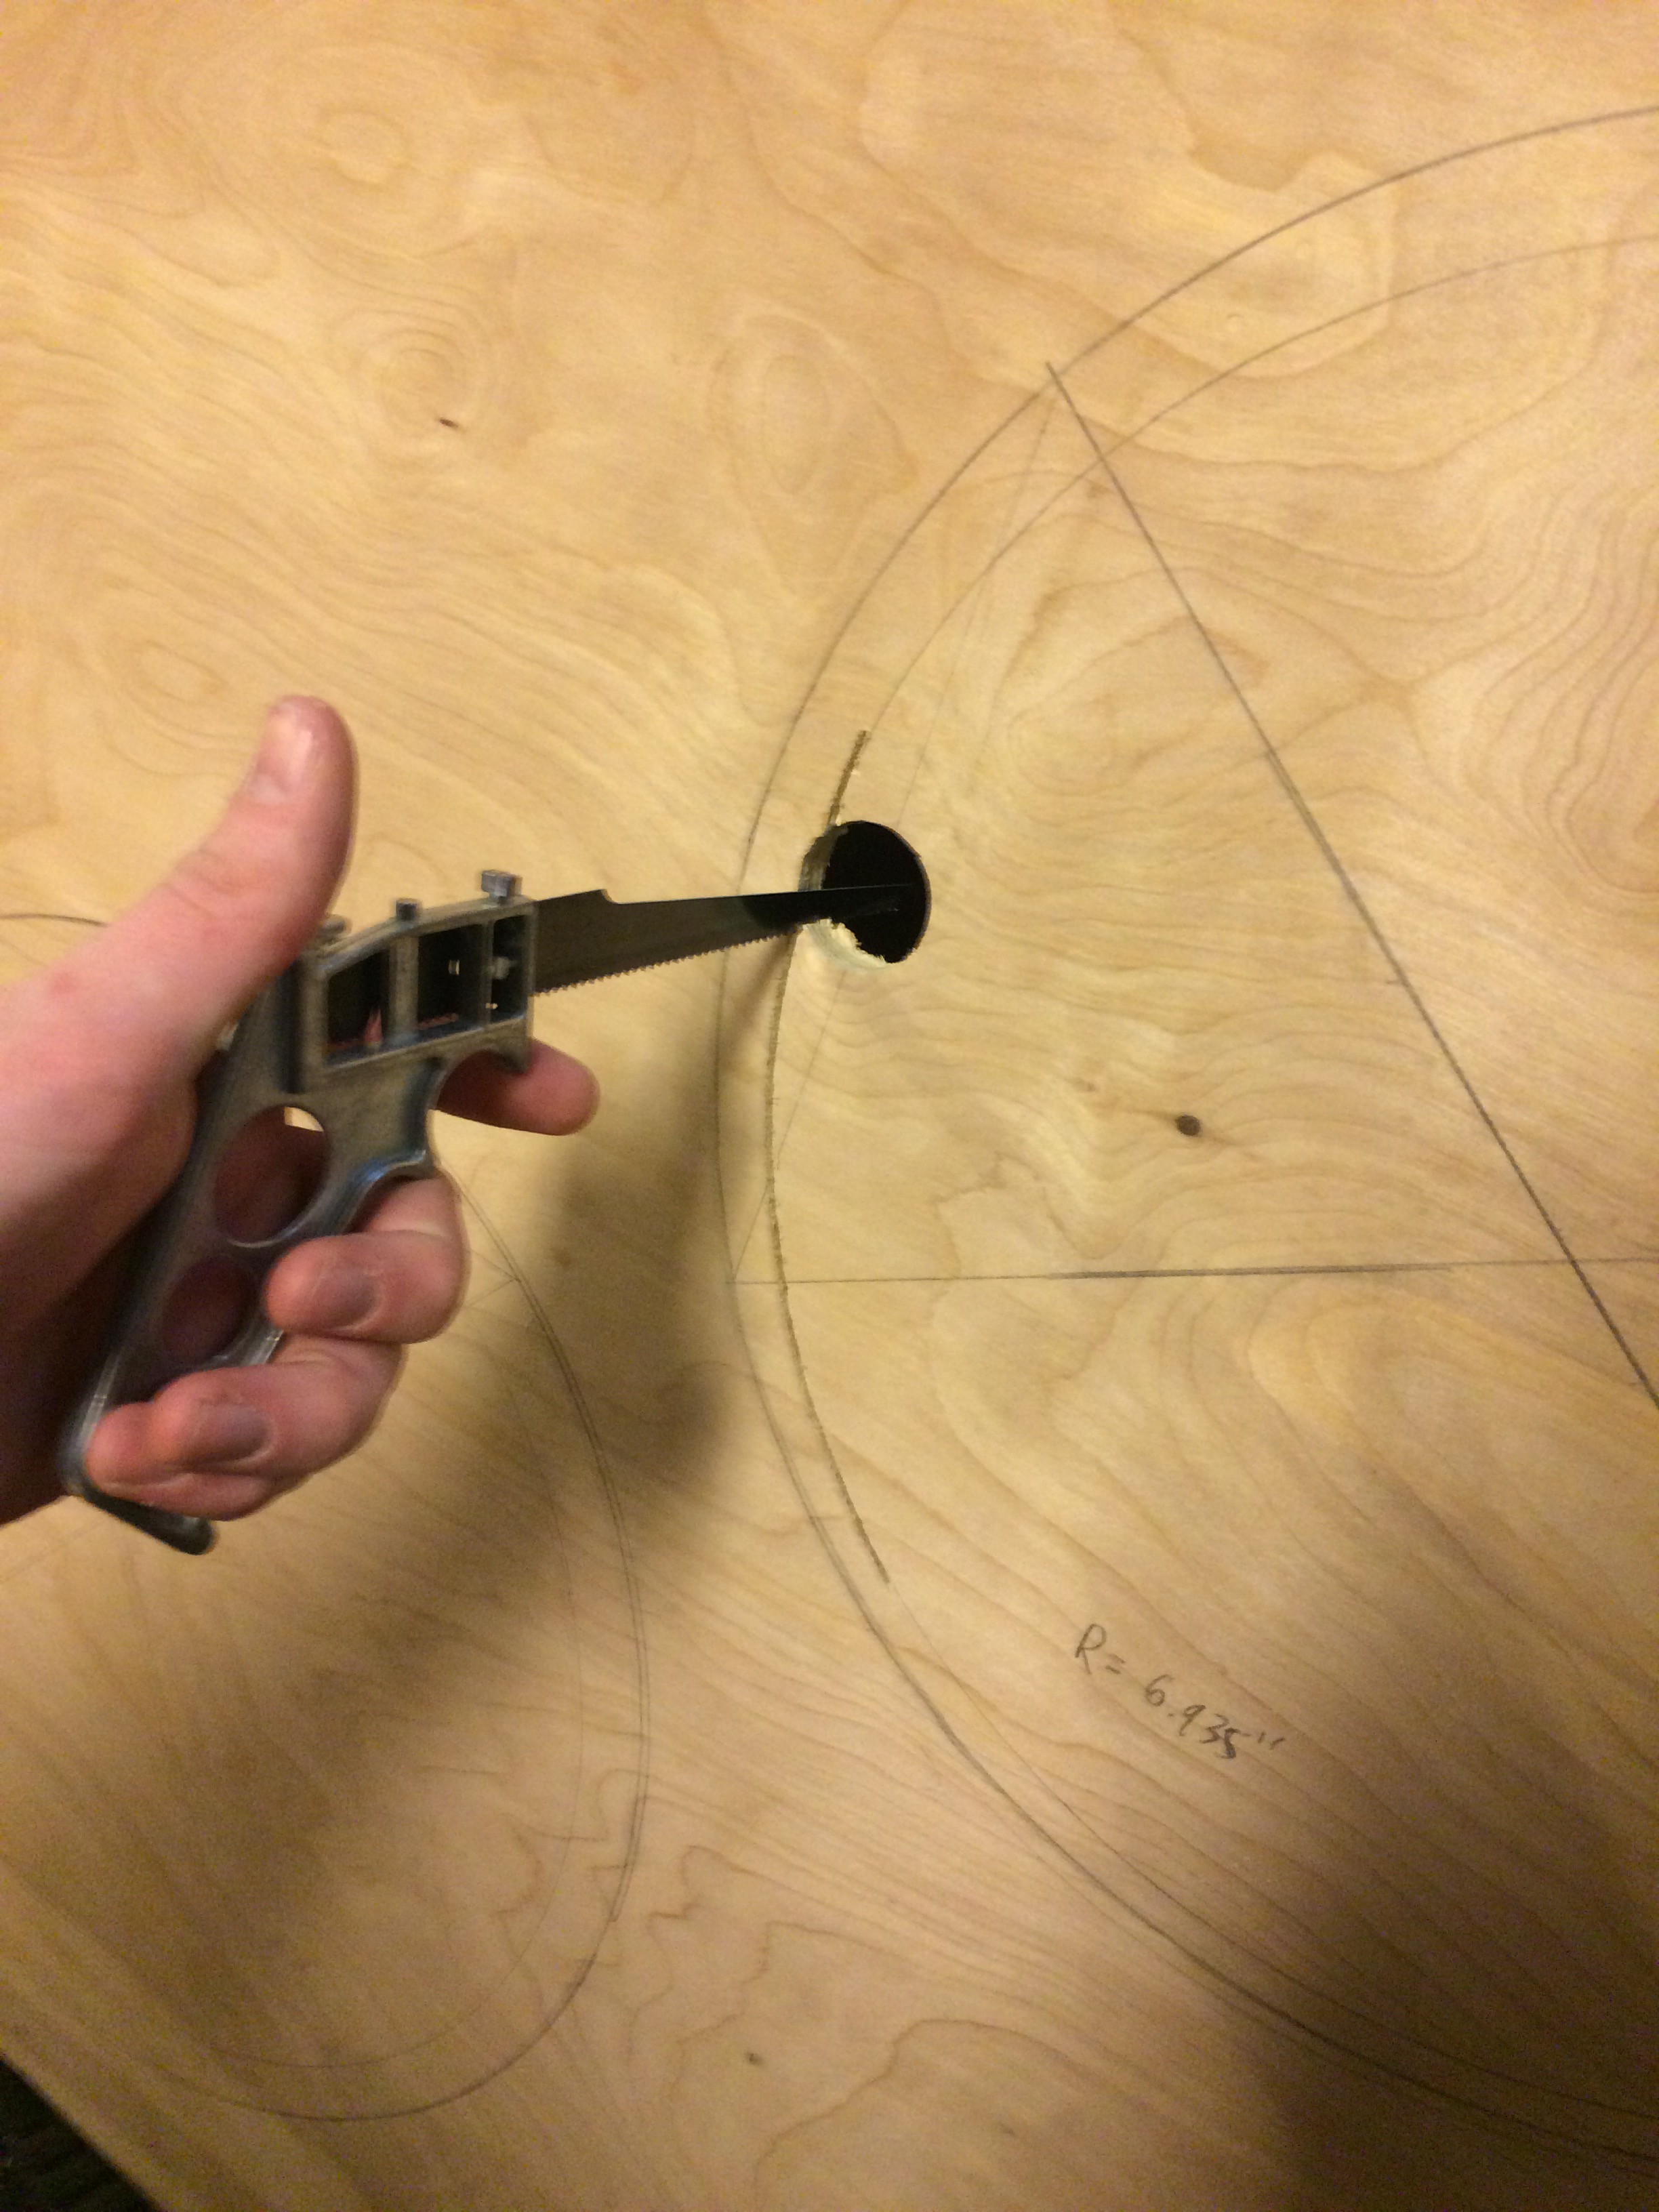
This was probably the hardest part of the project. I highly recommend getting a sabre/jig saw. I sat down on my porch and used the crappy little keyhole saw pictured above. This made for an unnecessarily labor-intensive project and led to the public consumption of an entire six pack of Tecate (and if you're too good for Mexican lager on a hot summer day you can just skip the rest of this post and have the help drive down to GuitarCenter to pick up a premade cabinet for you). After I had finished the first speaker hole, my next-door neighbor Joe, wondering (and I quote), "what that caveman-ass noise was," finally came over and took pity on me, letting me finish the job with his sabre saw for the fair price of one Mexican lager.
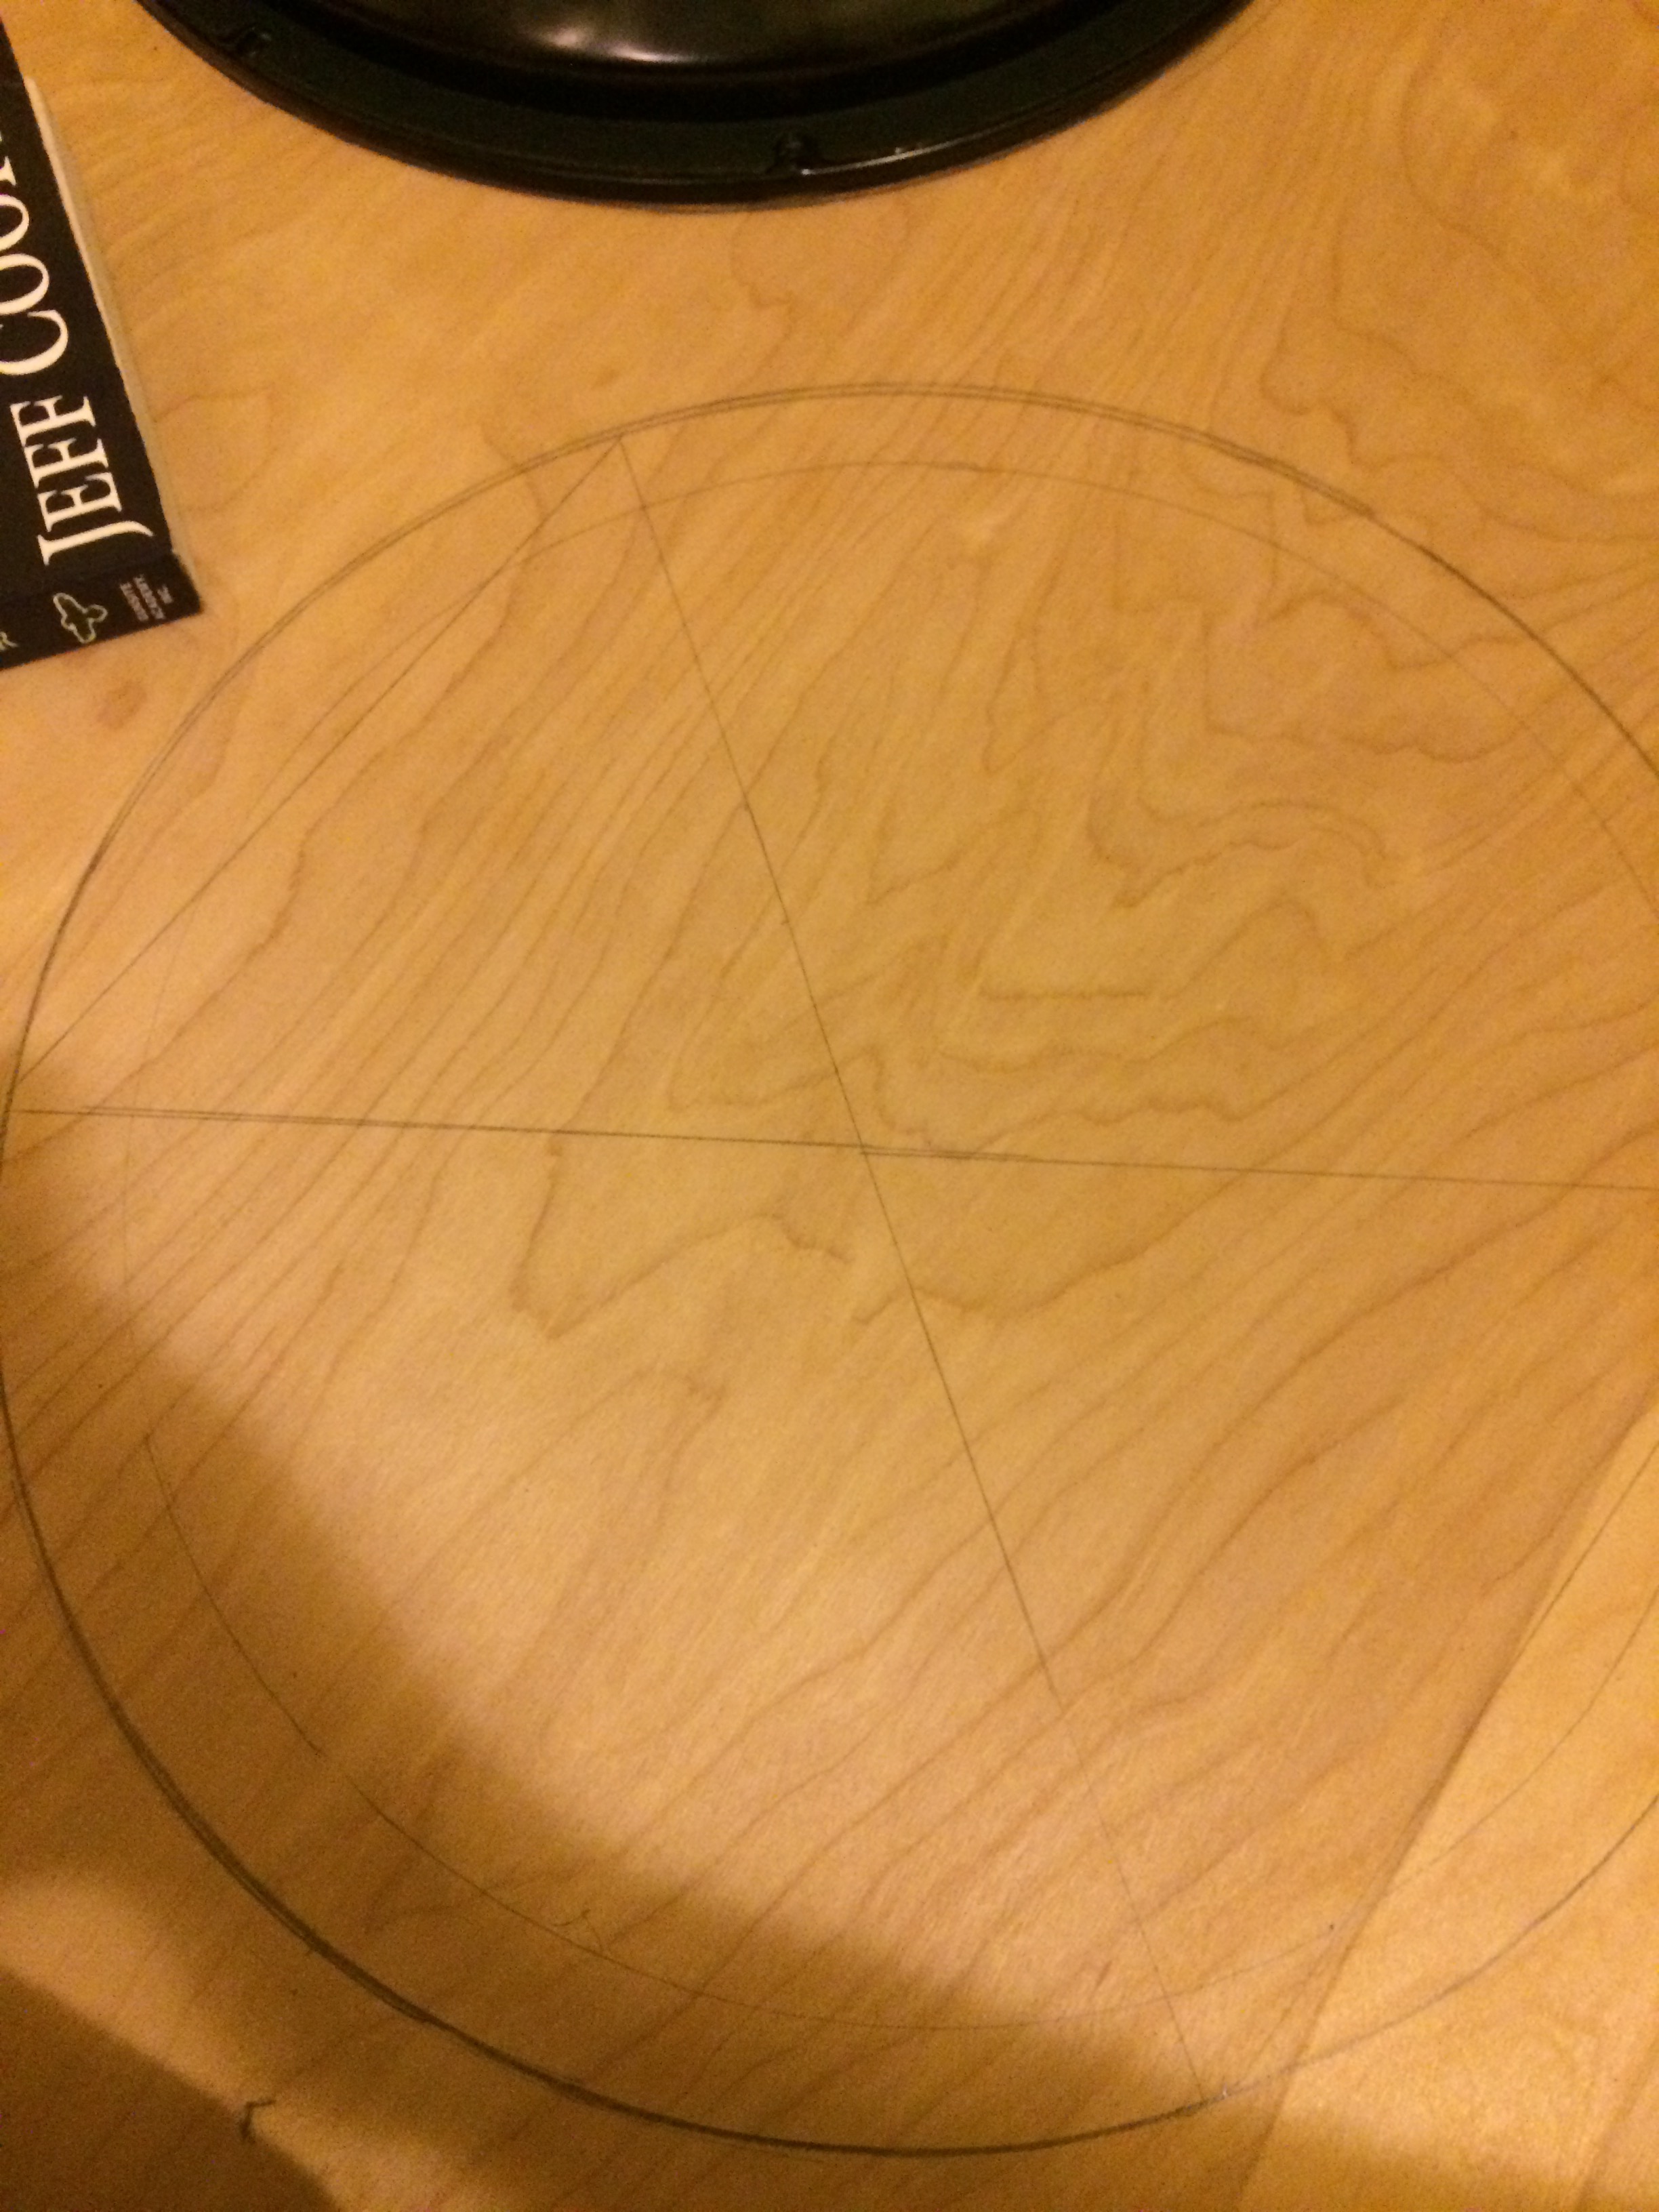
You may be wondering why I marked up the speaker holes the way I did. The speakers themselves have a foam gasket that seals them to their enclosure. Some seal from the back of the speaker basket, such that the entire front of the speaker is on the outside of the baffle when it's mounted. However, these speakers had the gaskets on the front, so it was necessary to leave enough wood around the circumference of the basket for them to seal to. This is as simple as cutting out a smaller baffle hole, the diameter of which is the total diameter of the speaker basket minus the width of the gasket, but it's harder than just tracing the outer diameter of the speaker. I had trouble drawing the smaller, "inner" circle for the area to be cut out; I just couldn't find the center of the outer circle. I tried using a compass, but it didn't seem to expand wide enough to work properly, so I cracked another beer and did some euclidean geometry after all.
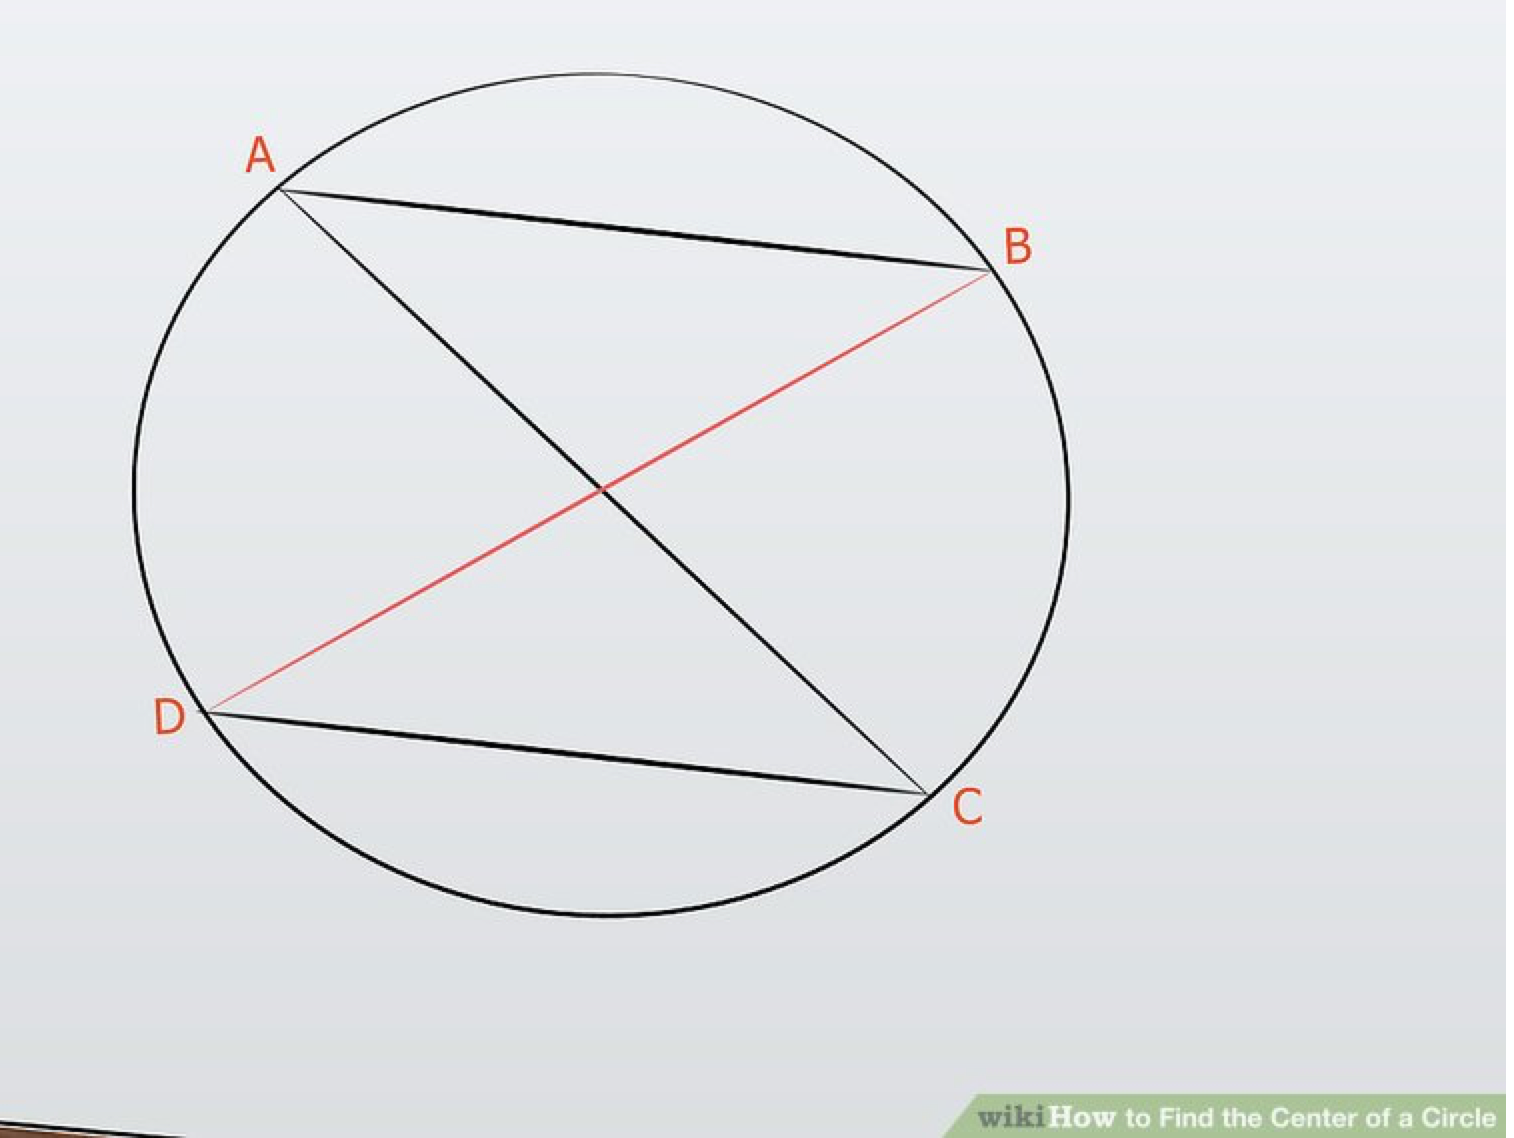
Th-thanks wikihow
Drawing two parallel chords of equal length on a circle, and then connecting the opposite ends of each chord to the other will result in a nice little intersection at the exact center of the circle. From there, you can position your compass and draw a perfect concentric circle of any diameter. It took a few tries, probably because of all the beer I'd had that day, but it actually worked pretty well. I ought to call up my high school geometry teacher and thank her for the B+.
Making the Cabinet Walls
Nothing all that special went into this step. Using standard-sized lumber means that you need only make a few straight cuts to have everything you need for a frame. I cut my 1"x12" pine boards down to the proper dimensions (which I have since forgotten, sorry), making sure to account for the thickness of the boards when necessary, and I was good to go
The big boys use box/finger joints for their speaker cabinets. They are stronger and more airtight than most other joints. However, the big boys also have nice climate-controlled workshops with table saws. The big boys also probably have nice salaries and benefits and happy big boy families to go home to at the end of the night. Well I don't have any of those things, so I used cleated butt joints and copious amounts of wood glue. I used lengths of standard 1" furring strip (also the material used to mount the baffle to the cabinet) as cleating, noting the length, so as to allow the ~1/2" thick baffle and back panel to sit within the frame of the cabinet. Discerning readers might be able to see multiple applications of cleating, and some ugly, desperate looking screw holes. This was because the furring strips I'd purchased were ever so slightly warped and knotted; so I screwed up a few times and had to start over or reinforce a crappy joint. Make sure to get quality furring strips if you want to avoid this. I would have been more upset, but I knew I was going to cover the damn thing in Tolex anyway, so I didn't let it bother me.